Wednesday, March 13, 2013

The YHMAC says GOOD BYE for now

Hi Friends~

WOW! 3 YEARS! I could have never imagined back on April 21, 2010 when the first post of YOU HAD ME CRAFT appeared that this party could have gone on this long! And what a PARTY it as been!

I wholeheartedly attribute the success of my blog to ALL of my friends, fellow bloggers, and talented crafters that have joined and visited me here over the years!
 THANK YOU THANK YOU and a million times THANK YOU!!!

It is always bitter sweet to say good bye to something you have loved so much for so long, but equally heart warming to know that the time is right to move on to something new.

Effective today March 13, 2013,  I announce the close of my blog
YOU HAD ME AT CRAFT.....for now.
{ cause ya never know what the future might hold, lol} 

Life is just simply taking me in a new direction, and I no longer can give my blog the attention nor the time it demands and deserves. I guess I knew the end was coming for a while now, but it’s been hard to break away.

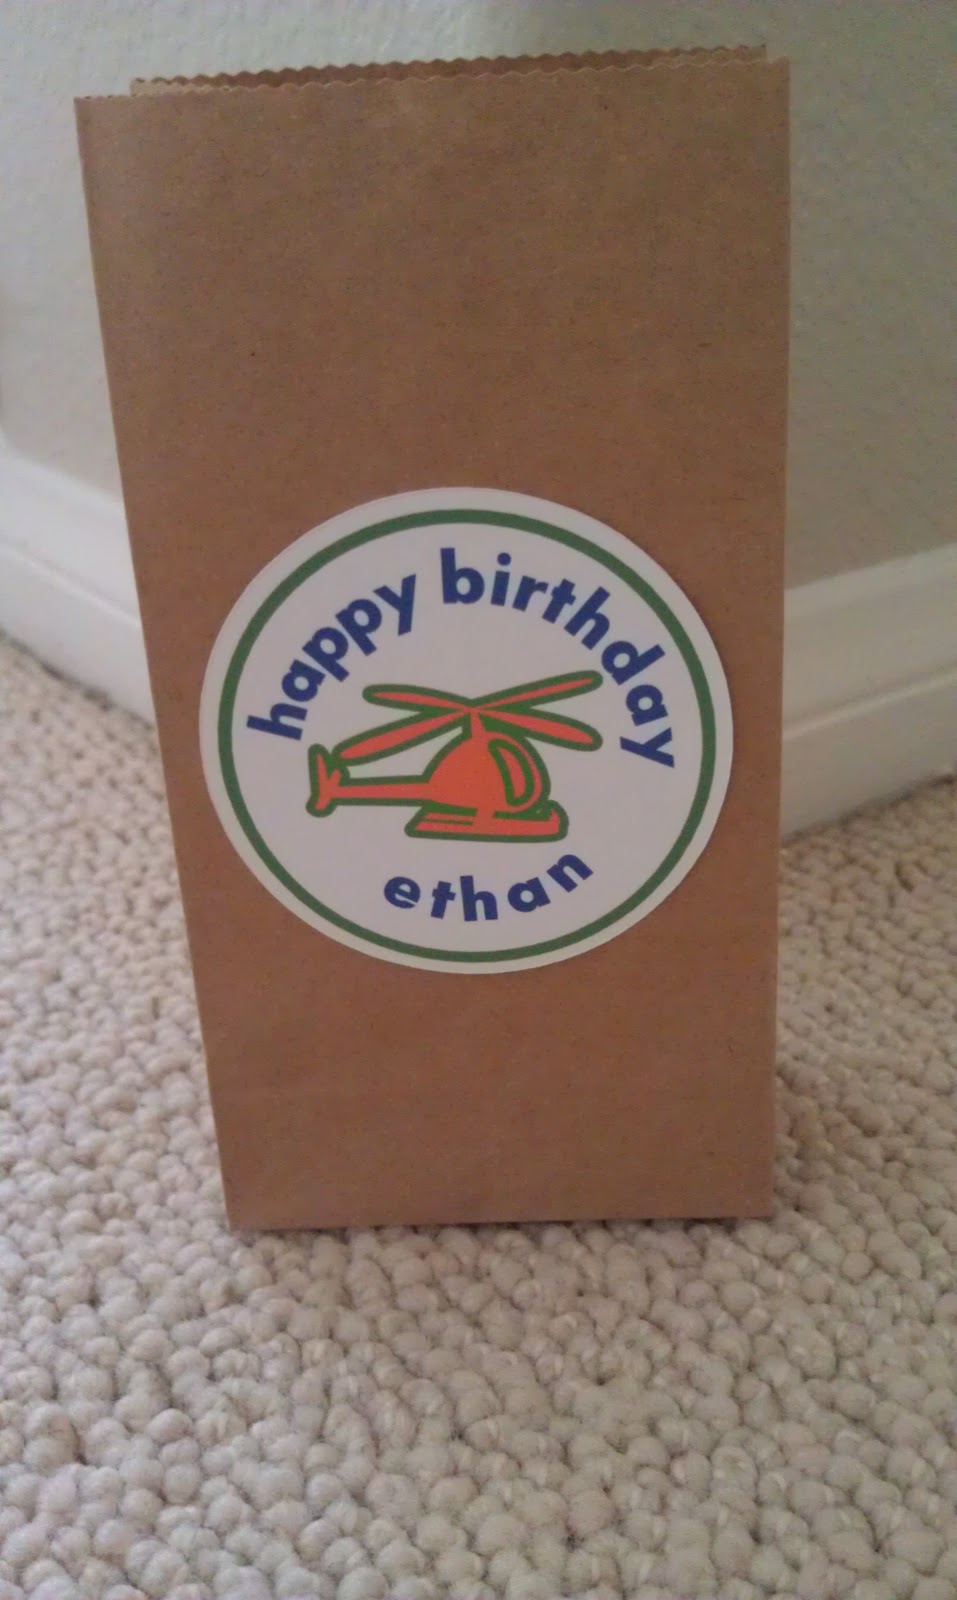
Here's a clue of some of the "things" that I've been up to!
And yet another little guy joined my munchkin crew {grandkids) just last month! 


I'm so grateful for all the wonderful people I've "met" here along the way and for letting me be a small part of your creative lives. I have learned and grown as a crafter because of you !

You'll still see me lurking around your blogs, posting comments and maybe see me on some crafting social sites. So Hey! Don't forget to say HELLO!

AND if you just happen to be here for the very first time, feel free to back track and check out the over 300 posts, videos and projects I have posted in the past.

Wishing all of you the very best that life can offer and all the blessings a loving Heavenly Father has in store for you!

BIGGEST HUGS and HAPPY CRAFTING!!!

ALEX


Exclusivity and Copy Right Information :
ALL CONTENT included on this site  CONTINUES to be COPYRIGHT OWNED © Alex C Designs. Including the blog name “ YOU HAD ME AT CRAFT.com”. ALL pictures, videos and content are protected under this copyright.
You may  "cut and paste"  ONE picture from this blog to your blog or other social network site, AS LONG as it is accompanied by a DIRECT LINK to this blog mentioning this blog name and Alex as the original author.
Thank you!
Pin It!

Tuesday, October 16, 2012

WHOA! A Month Since My Last Post!

WOW! Talk about TIME FLYING while your having FUN! Wanna see what I've been up to the last month ????

Hmm...just a few things...


 Made a hoodie ruffled skirt dress
 Made a itty bitty infant peasant dress and double knot hat
Made a boys hoodie

 
Made Cape Crusader's PJ's, Capes and Masks
 
 One for Batgirl...
 One for Batman...

Ready for action!

THEN...

Visited with these their alter egos {SSHHH} Remember, they have secret identities :)...


 This one's too young to fight crime yet :)

 THEN...

 I came home and spruced up my Fall Mantle with a new "SPOOKY BURLAP BANNER"

AND, I'm working on a WITCHY BURLAP PILLOW COVER


Oh yeah...and I squeezed in some time for baking my "sort of famous" 
WHOLE WHEAT BRAIDED LOAVES !


 So yeah...been pretty busy...BUT I guess I forgot to BLOG! LOL!


Pin It!

Tuesday, September 18, 2012

Over do !

Hi there ~

Whilst perusing some photos in the hopes of clearing out any unnecessary files on my computer, LO and behold I realized I had completely FORGOTTEN to post these AWESOME CARDS I received way back in the spring in a CARD SWAP I did with all my designer friends at MY PINK STAMPER.

So with out further adeu ...here's the loot I got!


Didn't everyone just OUT DO themselves? !!! Robyn certainly has a knack for choosing some awesomely creative designers and I was honored and privileged to be part of that group! I've since retired from all design teams to pursue my sewing, diy and home dec ventures, but I do admit, I miss being part of such a fun group of creative minds { sigh}

Speaking of...I am totally embarrassed to admit that cannot recall with exactness which card was made by which designer... BUT I do know you can hop on over to My Pink Stamper and check out Robyn's side bar for more information and creations from her Pink Designers!

And last but not least here's the card I contributed to the swap!

I'm obsessed with DRESS FORMS! Reminds of my sewing buddy Ethel :)

Pin It!

Friday, September 7, 2012

Dress Making Success

Hi there ~

Remember when I ventured off to the LA Fabric District 
a couple of weeks ago and came back with my fabric haul of knits?!
 

That's less than half of it....Oops!!!

WHA-ELL!!!...talk about "worth my time"! As soon as I could, I challenged myself to make a DRESS! Yup, a FULL real ready to wear, top and bottom garment! To be honest, I was scared to death... but determined! After all... I had invested time and money in acquiring the fabric, right?!, AND spent countless hours searching blogs and pinterest for ideas and tutorials.

I was committed and there was no turning back NOW! Let the pattern drafting, cutting, sewing, serging and fittings begin!

Here's what I got for my efforts...{insert feelings of giddy satisfaction}


AAAaaa!!! I REAL DRESS!!! Something I could actually wear in public! I hadn't constructed a full garment like this since my days of trying to make Halloween customs for my kids! {sighs of happiness and relief }


Using my Brother Serger 1034D. I gift I'd gotten myself almost a year ago, I was able to produce PERFECT GATHERS! I'll never do gathers the old way again! EVER! Not to mention, finish the seams with a secure neat stitch! Highly recommend this machine, even for the novice sewist :)


If there was anywhere in this project I thought I would screw up, it would have been attaching the set in SLEEVES! But YAHOO! Success the first time, thanks to all those tutorials I studied. And LOOK the sleeves even have a cuff :)

AHHHH... and how can I forget the tip I learned about using a TWIN NEEDLE for finishing hems and top stitching for a PRO store bought look!

And last but not least...here I AM all ready to go church with my new DRESS! Taking pictures of yourself is so AWKWARD!


I hope to do some simple technique tutorials myself in the coming months so I can share what I learned. In the meantime, check out my PINTEREST PAGE under my boards for SEWING TIPS and SEWING PROJECTS for ME and KIDS.
Pin It!

Thursday, September 6, 2012

Flying Objects

Hi there ~

So at our last FACETIME session, my grandson Ethan announced he wanted a FLYING OBJECTS THEMED BIRTHDAY PARTY !Meaning airplanes, rockets, jets and helicopters. Absolutely no NON engine objects ALLOWED ( kites, balloons etc ) Heavens NO! So I went a little crazy in the craft sewing room, pulled out my new CAMEO ( love it)  and sewing machine and serger and went CRAZY making banners, party favors, and decorations! Before I knew it I had a complete FLYING OBJECTS BIRTHDAY PARTY SET...just add cake, balloons and a bunch of 6 year olds, LOL!

I packed it up neatly in a box, headed to the post office and off it went to my grandson in Utah...flying objects indeed!

I'm happy to report he received his special care package yesterday and he's THRILLED and all READY for his birthday party shin-ding this weekend!!! OHHH, how I wish I could be there to see his sweet little happy face.. but alas, the miles separate us :( ... BUT!  I know my daugther will take great pictures and soon we'll be sitting and chatting enjoying our next FACETIME session! Gotta love technology, flying objects and all!!!  

THE BANNER...
Using my NEW Silhouette Cameo, felt, thick striped ribbon folded in half like binding, assorted fabrics and pellon 800 interfacing, I came up with this terrific personalized banner! If you want some tips on how to cut fabric using an electronic cutting machine like the Cameo or Cricut this is a GREAT TUTORIAL 

Next...the SPACE SHIP TABLE TOPPER
I simply headed to Joanns',  got a yard and 1/4 of novelty fabric, ran it thru my Brother 1034D Serger
to finished the egdes,  ironed it and wha- la...perfectly coordinated with the rest of the party stuff :)

Next the...WALL and CAKE TOPPER DECOR
 Again, using my Silhouette Cameo, I downloaded some free shapes using my $10 free shapes card that somes with the Cameo when you first purchase it, and cut these out in a various sizes. These can be used on the wall with the banner or attached to some toothpicks and used to decorate a cake :)

Then THE PARTY FAVORS...
 I googled  "airplane party favors" and found with several pictures and tutorials on how to make these adorable party favors out of Lifesavors, Smarties, Packs of Gum and rubber bands. Who thinks of these things ??? - GENIUS !!! What would us crafters do without google images, pinterest and blogs??? Luckily, we don't need to find out!!!
Note: next time I would use the white mint lifesavors because the fruit ones are sticky to handle.

And finally ...PERSONALIZED MINI PARTY FAVOR BAGS
I found these mini lunch sacks at Michaels, so cute!!! This was my first time using the PRINT and CUT feature on my CAMEO and I was BLOWN AWAY! Super easy to do with this machine. I found this tutorial on Doodling Debbie's You tube Channel on how to make customize tags, rounding text into a circle and printing and cutting. Thanks Debbie for sharing your talents on how to use the Silhouette Cameo! She has a great BLOG too!!! I've learned so much from her :)

Pin It!

Friday, August 31, 2012

Stripes REVEALED

Hi there ~

Okay, here she is...my latest sewing project I promised to show you!
I am IN LOVE with this SKIRT and how she turned out. Not to mention how comfy she is to wear!
Check out my matching skills...pretty nifty eh ? :)
And so glad I gave using a TWIN NEEDLE a try. The finished look is so pro :)

Want to learn how to make one? Here's where I got all the info you need...
MISS MATCHED MAXI MINI TUT
and
Elle's Apparel MAXI TUT

Thanks to these FAB sewing blog gals, I have a skirt I want to wear everyday!!!
Pin It!

Wednesday, August 29, 2012

Okay...the truth and Stamp Up Series 6

Hi there ~

Yeah...so I'm on a sewing CRAZE right now! In the last two weeks, I've sewn 2 dresses, 4 skirts, 1 pre schooler hoodie, 1 toddler hoodie dress, an infant dress and a baby hat! I can hardly believe I just typed that let along sewed it! But I DID! ...and I am SO EXCITED to sew more projects!

What's my secret? Well 3 things...#1 JERSEY KNITS -don't know why I was so intimated by this awesome textile, it's so easy to work with ...  #2 SEWING BLOGS  and #3 PINTEREST...bet you're not surprised with # 3 :)

Here's a sneak peek of upcoming sewing posts...


But for all you PAPER CRAFT JUNKIES that began following my blog looking for card making inspiration...don't despair! I am still cutting, scoring, folding and embellishing my other favorite craft past time, PAPER !!!

Here's yet another card I made at one of those FUN Stampin Up Parties I go to...


Once again, I chose not to use a sentiment YET! Depends on the occasion and who I'll give it to, of course...since I started doing this, it has made my life SO MUCH easier when I need  to grab a card QUICK! I can pretty much chose any card in my portfolio, GRAB my large collection of sentiment stamps,  personalize it  and OFF I GO... LOVE  IT !!!
Pin It!

Friday, August 24, 2012

Not Scarey SPICE anymore

Hey there ~

Told you this wasn't turning into a sewing blog. Here's a new CAMEO project I worked on to organize my spice cabinet. I've had this idea filed away in my head for at least 6 months and finally got to it !!!

STEP ONE : Clean out your spice cabinet. EEK messy and hard to find things!
 CLEAN SLATE ! Clean and ready to start over!

STEP TWO : Get yourself a neat LAZY SUSAN (got mine at the Crate and Barrel Outlet)...
AND some small COOL but functional GLASS JARS. Also picked those up at the Crate and Barrel Outlet. Wash and dry them completely.
NEXT...GRAB a cute but simple DECORATIVE LABEL file from the Silhouette Online Store. Like this one...

NEXT STEP : Choose a LABEL, size it up and CUT it out on CHALK BOARD paper. I got mine from Pick Your Plum ( sold out) but I'm sure there are lots of other places that sell it.

THEN : Before pealing off the labels. Use CHALK BOARD MARKERS ( I ordered mine at Amazon.com) and write out the names of your spices. 


ALMOST DONE...Now fill up each jar with a different spice and slap on your COOL LABELS :)

 
TADA!!! Organizing my spices has never been so much fun! Love the LAZY SUSAN, makes grabbing what I need a cinch! 

TIP : when choosing a jar, make sure it has a wide mouth so you can fit measuring spoons in them...OR your index finger and thumb when you just want a PINCH.

I LOVE MY NEW CAMEO!!!


I linked up...


Craft Junkie Too Friend


Pin It!